




















In this guide, you’ll find step-by-step instructions for adding a booking option for your beauty salon to a website built on WordPress, so visitors can easily and conveniently book an appointment.
There are two ways to do this: first, a link pointing from the menu bar; second, using a separate plugin to add a floating Book Now button to the corner of your website.
1. Adding the Online Booking Link to the Menu
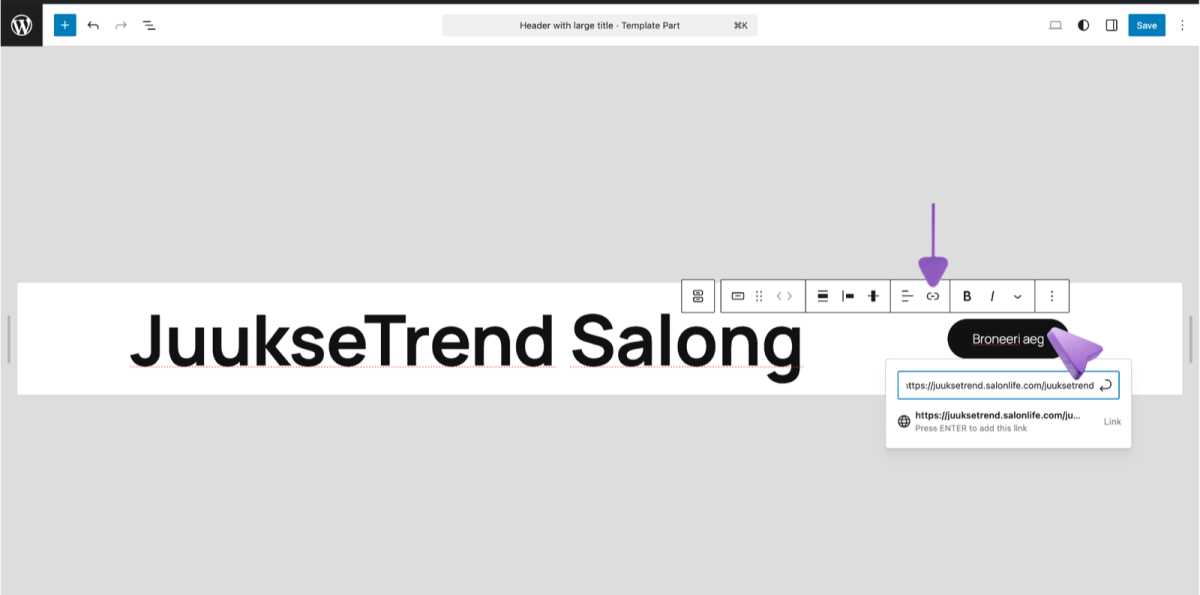
If you want a Book Now button on your WordPress menu bar that takes visitors straight to your SalonLife booking page when clicked, here’s how:
- Find the menu manager
• Open your WordPress dashboard, go to Appearance in the left-hand menu, then Edit. (Menu names may differ depending on your language setting.) - Copy your booking link
• Open the Apps page in SalonLife, select Online Booking, and copy your unique SalonLife booking link from there. - Add the link to the menu
• In WordPress, enter the copied booking link as a new menu item.
• Set the text to, for example, Book Now.
• If there’s no menu in your website header, click an empty spot where you want to place the button; a (+) button will appear, under which you can select Button. Enter the booking button’s name and add the destination link to the button as well. - Save your changes
• Click Save to save it.
It’s that simple! If you now open your website, you’ll see a new Book Now button on the menu bar, which takes the client straight to your SalonLife online booking page when clicked.
2. Using the WordPress Plugin
As a second option, you can add a floating booking button to your website that’s visible to clients at all times. This lets the person booking stay on your website, without needing to go to a separate link or a different page.
2.1 Downloading the Plugin
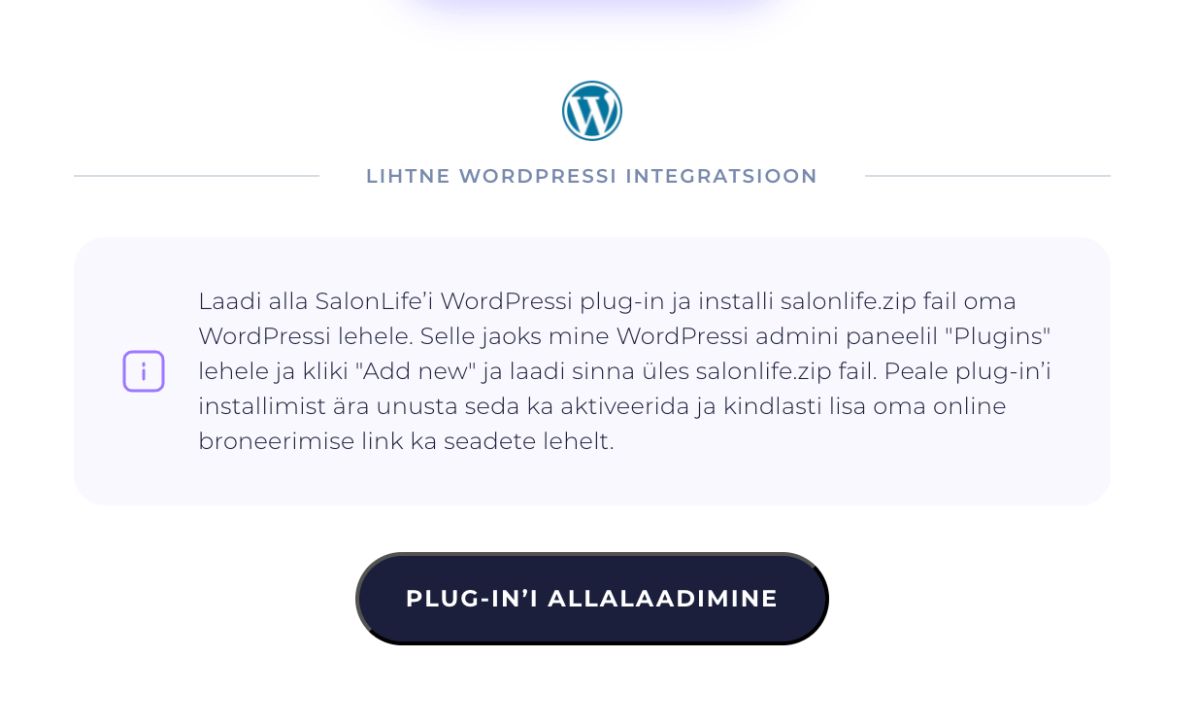
- Download the plugin
• Go to the Apps page in SalonLife and select Online Booking. There you’ll find the option to download the WordPress plugin.
• Save the downloaded file to your computer.
- Install the plugin in WordPress
• Open Plugins from the left-hand menu of your WordPress dashboard.
• Click Upload Plugin at the top, and select the plugin file you just downloaded from SalonLife.
• Install the plugin and activate it by clicking Activate.
.png)
2.2 Configuring the Plugin
Once the plugin is activated, a new item called "Online Booking" (or something similar) will appear in the left-hand menu.
- Add your SalonLife booking link
• Save your just-copied booking link into the plugin’s settings field.
• Click Save. - Change the button’s appearance
• Choose a button color that matches your website’s style.
• Set the button text (for example, Book Now).
• Once you’ve found a style you like, click Save.
3. What This Looks Like in WordPress
.png)
- The floating button appears in the bottom-right corner of your website. Even as the visitor scrolls down the page, the button stays visible.
- Clicking the button opens a small window where the visitor can choose the service and time they want (in other words, online booking opens without ever leaving the page).
- The Book Now button added to the menu bar takes the visitor to a new online booking web page, where the client can complete the booking.
TIP:
If you want to offer visitors several options, feel free to use both the menu-bar button and the floating button at the same time.
Adding SalonLife online booking to your WordPress website helps you reach more clients and save time. When the booking option is clearly visible and always at hand, clients can pencil in a suitable time themselves, without you having to respond to every message or call individually.
Whether it’s a menu-bar link or an always-visible floating button, both help ensure that every website visitor finds a suitable time quickly and conveniently.
If you have any questions or need help, feel free to reach out to the SalonLife support team — we’re always happy to help!